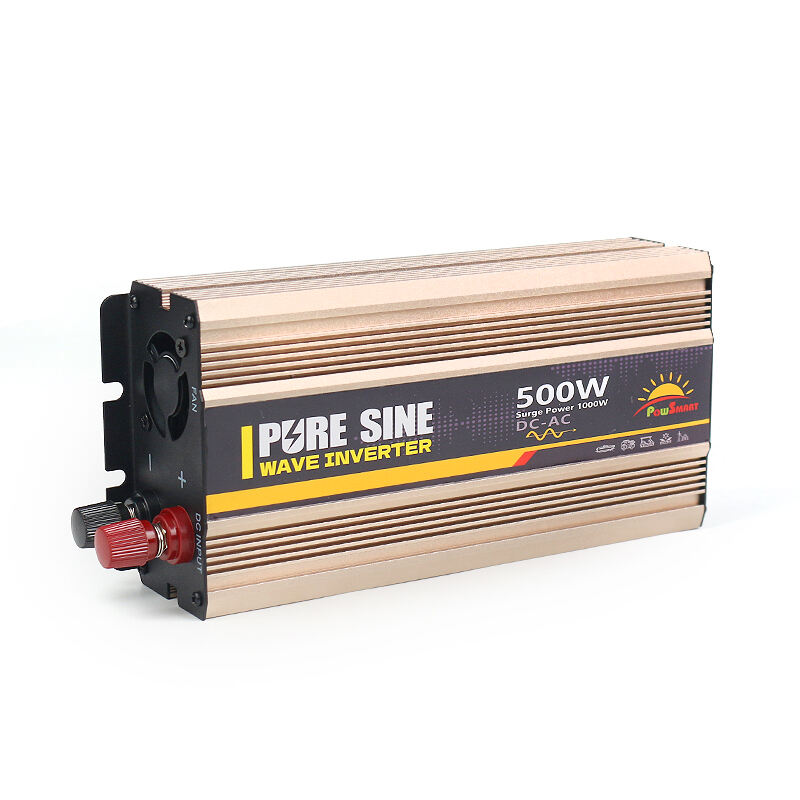
Inverters have earned a reputation as cost-effective, versatile power solutions—powering everything from home appliances during outages to camping gear on road trips. But here’s a critical truth many users overlook: A single wrong wiring move can turn this handy device into a fire hazard, frying your $2,000 fridge, damaging your car’s battery, or even sparking electrical fires. The culprit? Skipping or botching the essential wiring checks and steps that keep your setup safe. Let’s unpack why inverter wiring is non-negotiable, the catastrophic risks of cutting corners, and how to get it right every time.
Why Wiring Is the Make-or-Break of Inverter Safety
Inverters convert DC power (from batteries, solar panels, or car batteries) to AC power—and this conversion process demands precise electrical connections. Unlike plug-and-play gadgets, inverters deal with high currents that can overheat wires, short-circuit, or overload circuits if not wired correctly. Think of it like a water hose: If you use a thin hose for high-pressure water, it’ll burst. Similarly, using the wrong wire gauge or skipping safety components when wiring an inverter is a recipe for disaster. Even seasoned DIYers can make mistakes here—especially if they assume "close enough" works for electrical setups.
The most dangerous myth? "I can just splice wires or use any old cable to connect the inverter." This couldn’t be further from the truth. Every inverter has specific wiring requirements based on its wattage, input power source (battery vs. solar), and intended use (home vs. car vs. RV). Ignore these, and you’re playing with fire—literally.
The Horrors of Bad Inverter Wiring: Real Risks, Real Consequences
Skipping critical wiring steps doesn’t just lead to "minor glitches"—it causes expensive, dangerous failures. Here are the most common (and terrifying) outcomes of shoddy inverter wiring:
1. Fried Appliances and Electronics
When an inverter is wired incorrectly (e.g., reversed positive and negative terminals, or using a wire gauge too small for the current), it can produce unstable voltage spikes or dirty power—even if it’s labeled a "pure sine wave" model. This erratic power is deadly for sensitive electronics: A laptop’s motherboard might melt, a smart TV’s screen could go black, or a refrigerator’s compressor could burn out. Repairing or replacing these devices often costs more than the inverter itself. One RV owner shared a nightmare story: They wired their 2,000-watt inverter with thin speaker wire, and the voltage surge destroyed their microwave, coffee maker, and phone charger in 30 seconds.
2. Car Battery and Electrical System Damage
Many people use inverters in cars to power laptops or coolers—but improper wiring here is a disaster for your vehicle. Connecting an inverter directly to the car battery without a fuse or disconnect switch can drain the battery completely (leaving you stranded) or cause the battery to overheat and leak acid. Worse, reversed polarity (hooking positive to negative) can fry the car’s alternator, ECU (engine control unit), or entire electrical system. A mechanic reported fixing a $4,000 alternator replacement because a driver used cheap alligator clips to wire an inverter—no fuse, no proper terminals.
3. Electrical Fires and Shock Hazards
Overheating wires are the #1 cause of electrical fires from bad inverter wiring. When wires are too small for the inverter’s wattage, they can’t handle the current, leading to overheating, melted insulation, and sparks. These sparks can ignite nearby materials like carpet, cardboard, or gasoline (if used near a car). Even scarier: Exposed wires or loose connections can cause electric shock, especially if the setup isn’t grounded. In 2023, a U.S. fire department responded to a home fire caused by an incorrectly wired solar inverter—luckily, no one was hurt, but the kitchen and garage were destroyed.
4. Inverter Failure (and Voided Warranties)
Bad wiring doesn’t just damage other devices—it kills the inverter itself. Voltage surges or reverse polarity can burn out the inverter’s internal components (like IGBTs or capacitors) in seconds. To make matters worse, most manufacturers void warranties if they detect improper wiring. That means you’ll have to pay for a new inverter out of pocket—on top of any other damage.
The Non-Negotiable Wiring Steps You Can’t Skip
The good news? Most inverter wiring disasters are avoidable with a few key steps. Whether you’re installing a home inverter, a car inverter, or an RV inverter, follow these rules religiously:
1. Match the Wire Gauge to the Inverter’s Wattage (Critical!)
Wire gauge (thickness) directly impacts how much current it can handle. Thinner wires (higher gauge numbers) overheat; thicker wires (lower gauge numbers) are safe. Check your inverter’s manual for the required wire gauge—here’s a quick reference for common setups:
- 500-1,000 watts: 8-gauge wire (for distances up to 10 feet)
- 1,000-2,000 watts: 4-gauge wire (for distances up to 10 feet)
- 2,000-3,000 watts: 2-gauge wire (for distances up to 10 feet)
Pro tip: If the wire run is longer than 10 feet, go up one gauge (e.g., use 6-gauge instead of 8-gauge for a 15-foot run). Longer wires have more resistance, so they need to be thicker.
2. Install a Fuse or Circuit Breaker (Non-Negotiable)
A fuse or circuit breaker acts as a "safety valve"—it shuts off power if the current gets too high (e.g., from a short circuit). Always install a fuse within 12 inches of the power source (battery or solar panel), not just near the inverter. For car or RV setups, use an inline fuse; for home setups, a dedicated circuit breaker. The fuse rating should match your inverter’s maximum current draw (check the manual—e.g., a 1,000-watt inverter at 12V draws ~83 amps, so use an 80-100 amp fuse).
3. Double-Check Polarity (Positive = Red, Negative = Black)
Reversed polarity is the easiest (and most costly) mistake to make. Always connect the inverter’s positive terminal to the power source’s positive terminal (red wire) and negative to negative (black wire). Most modern inverters have polarity protection, but older models don’t—and even with protection, a surge from reversed polarity can still damage devices. Use color-coded wires and label them if needed. Never guess!
4. Use Proper Terminals (No Alligator Clips!)
Alligator clips or twisted wire splices are temporary at best—they loosen over time, causing arcing and overheating. For permanent setups (home, RV), use ring terminals or crimp connectors secured with nuts. For car setups, use a dedicated inverter wiring kit with insulated terminals. If you’re not sure how to crimp wires, buy a cheap crimping tool—this small investment saves thousands in repairs.
5. Ground the Inverter (For Home/RV Setups)
Grounding prevents electric shock and diverts excess current away from devices. For home inverters, connect the ground terminal to a dedicated ground rod or the home’s electrical ground. For RVs, use the RV’s existing ground system. Car inverters usually don’t need grounding (the car’s chassis acts as a ground), but check the manual to be sure.
6. Avoid Overloading the Circuit
Even if wiring is perfect, overloading the inverter (powering more devices than its wattage allows) causes overheating. Calculate the total wattage of your devices before plugging them in—add 20% extra for "starting wattage" (appliances like fridges use more power when turning on). A 1,000-watt inverter can’t power a 1,200-watt microwave—no matter how well it’s wired.
When to Call a Pro (Don’t Be Stubborn!)
DIY wiring is fine for small, low-wattage inverters (500 watts or less) used for phones or laptops. But for larger setups—like home solar inverters, 2,000+ watt RV inverters, or hardwired home backup systems—call a licensed electrician. Electrical work is not the place to "learn as you go." A pro will ensure the wiring meets local codes, uses the right components, and is safe for long-term use. The cost of an electrician ($100-$200 per hour) is trivial compared to the cost of a fire or destroyed appliances.
Conclusion: Safety First, Savings Second
Inverters are amazing tools—when installed correctly. But cutting corners on wiring isn’t "saving time" or "being handy"—it’s rolling the dice with your property, your devices, and even your safety. The key takeaways are simple: Use the right wire gauge, install a fuse, check polarity twice, use proper terminals, and call a pro for big setups.
Don’t let a silly wiring mistake turn your inverter into a disaster. Take the time to do it right, and you’ll enjoy all the benefits of this versatile device—without the fear of fried appliances or fires. After all, a safe inverter is a useful inverter.

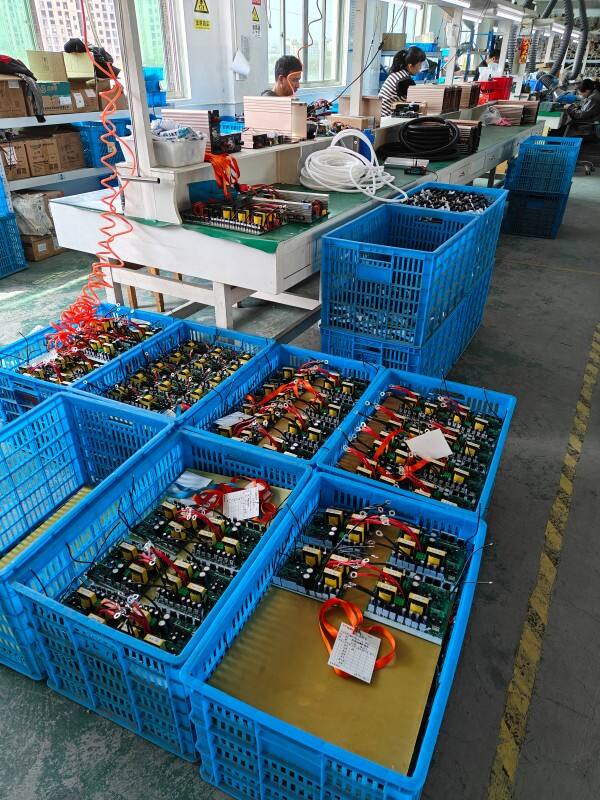
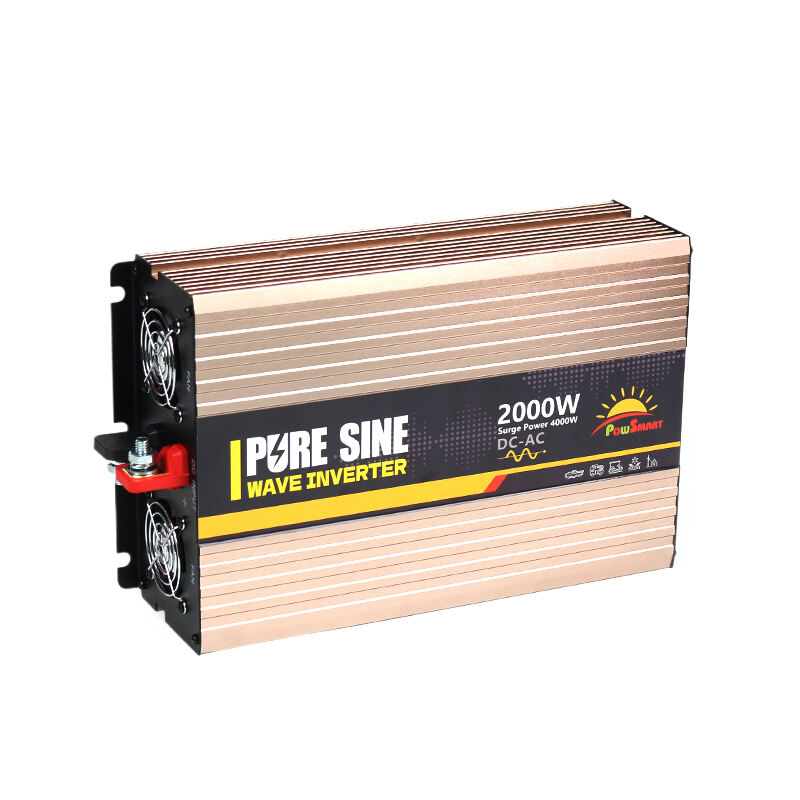
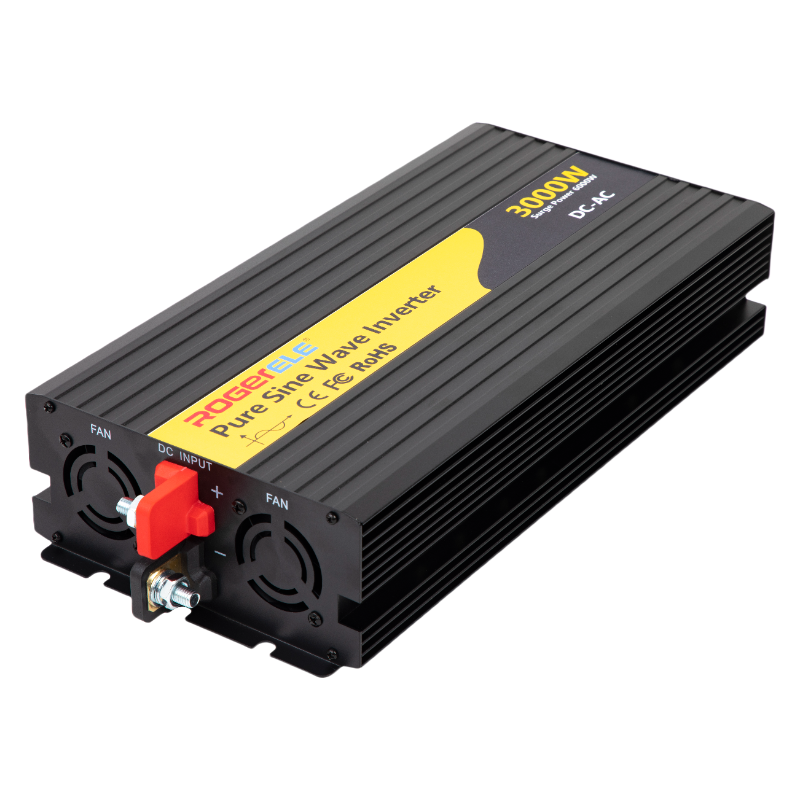
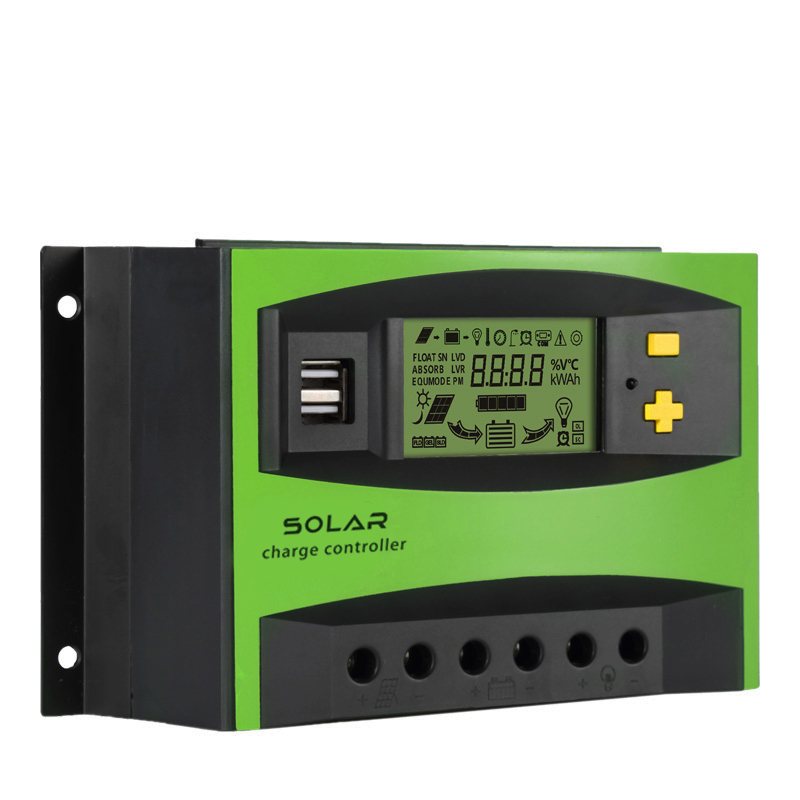
Explore our range of power inverters, solar hybrid inverters, solar charge controllers, and solar panels. Our lithium batteries and solar PV systems ensure optimal energy efficiency and reliability.
No8-88 of Xingye North Road,Youli Industrial Zone,Liushi Town,Yueqing of Wenzhou City, Zhejiang Province
Copyright © 2024 Zhejiang Sunrise New Energy Co., Ltd. Privacy Policy
 Hot News