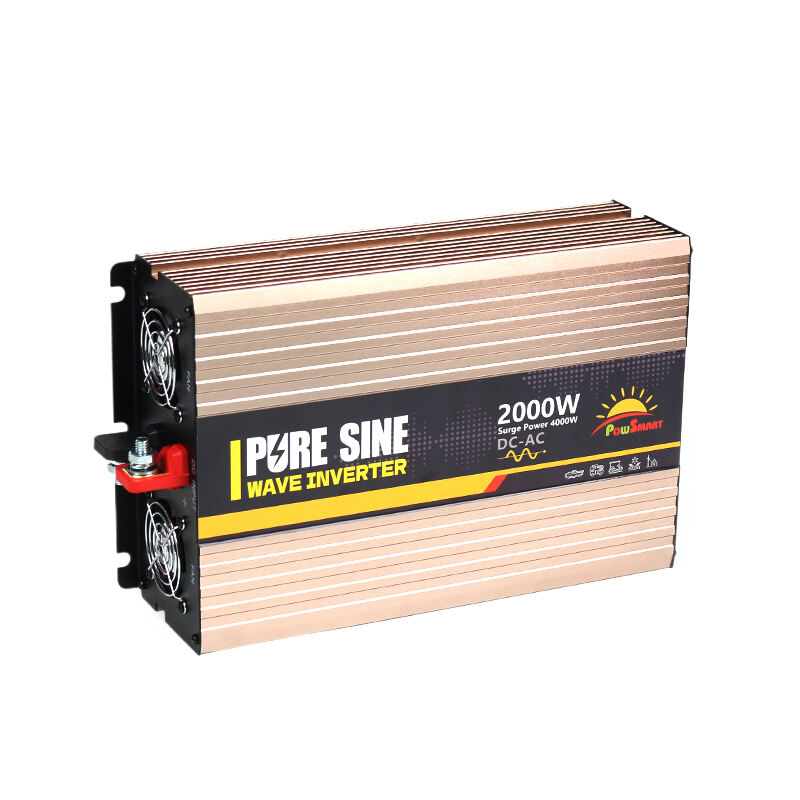
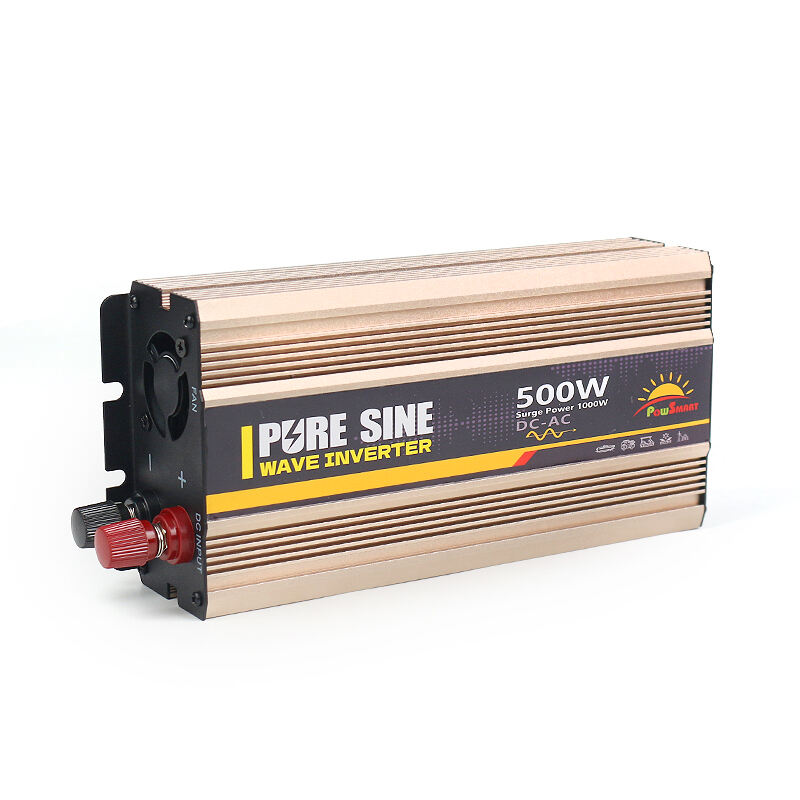
Understanding wattage requirements is crucial when selecting a power inverter. Smaller electronic devices like chargers typically necessitate an inverter of below 400W capacity. In contrast, larger household appliances may need an inverter exceeding 400W. Correctly estimating the total wattage needed involves summing up the wattages of all devices intended to be powered simultaneously. This ensures that you choose an inverter capable of handling the entire load without strain. It's wise to include a buffer by choosing an inverter with a capacity about 20-25% higher than the computed total wattage to prevent overloading.
Selecting the correct wire gauge is fundamental to the efficiency and safety of any power inverter installation. A proper gauge minimizes voltage drop, thereby maintaining an efficient power delivery system. For guidance, it's advisable to refer to standard wire gauge charts, taking into account the length of the wire run and the amperage draw. Using an inappropriate wire gauge could lead to severe risks such as overheating and potential fire hazards. Hence, ensuring your wire selection aligns with both the inverter size and the installation setup is essential for optimal safety and performance.
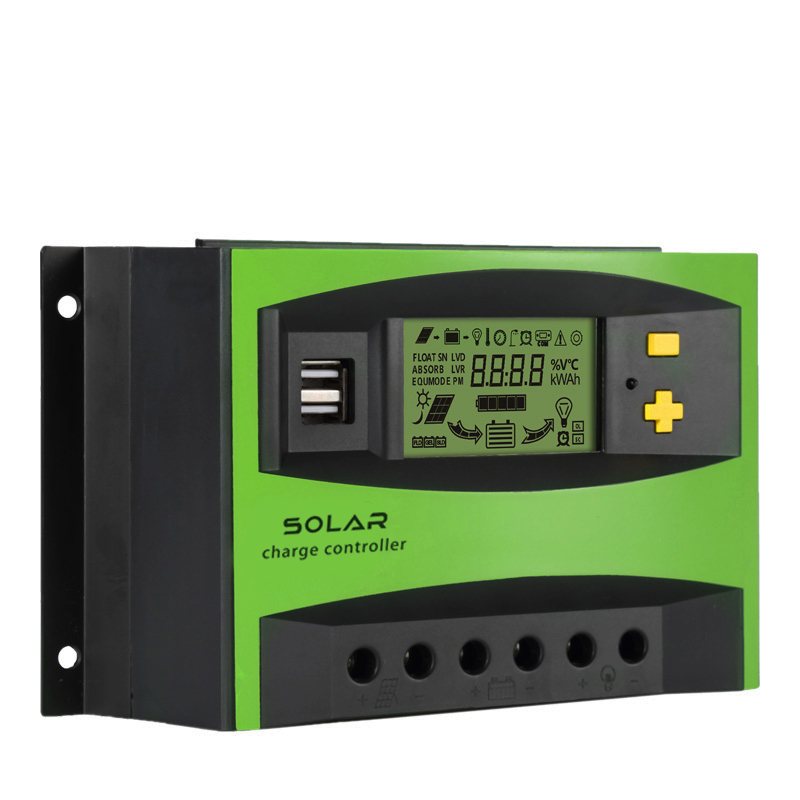
Ensuring compatibility between your power inverter and the solar panels is a vital aspect, especially concerning input voltage and output characteristics. Additionally, compatibility with lithium batteries should be a priority, as these batteries offer benefits such as increased longevity and higher efficiency compared to traditional lead-acid options. A power inverter designed to handle high input voltages enhances the effectiveness of solar systems, contributing to improved energy conversion efficiency. This alignment deters potential inefficiencies and maximizes the benefits derived from using solar power solutions.
When installing a power inverter, having the right tools on hand is crucial for a seamless setup. Essential tools include a fuse box to protect circuits and maintain safe electrical flow, crimp connectors for establishing secure connections, and a voltmeter to ensure accurate voltage readings. Additional tools such as wire strippers and screwdrivers are also necessary for managing wiring and other installation tasks efficiently. These tools collectively ensure a smooth and effective installation process. Using high-quality tools can prevent errors and enhance safety, minimizing the risk of installation faults that could lead to potential hazards.
Proper safety gear is indispensable during power inverter installation to prevent accidents. It is important to equip oneself with insulated gloves and safety goggles to protect against electrical shocks and debris. Furthermore, to mitigate fire risks, ensure adequate ventilation and maintain a clear area away from flammable materials. Adhering strictly to electrical safety standards is vital to avoiding both fire hazards and electric shocks. Prioritizing these safety measures significantly enhances the overall safety of the installation process.
Before diving into the installation, it’s essential to assess certain pre-checks like verifying battery capacity. This ensures that the battery can support the power demands of the inverter without causing any strain or inefficiency. Additionally, pay close attention to ventilation requirements to prevent overheating. Proper ventilation allows for efficient heat dissipation from the inverter, thus enhancing its performance and longevity. Calculate the needed ventilation considering the inverter's heat output and installation area layout to avoid potential heat-related issues.
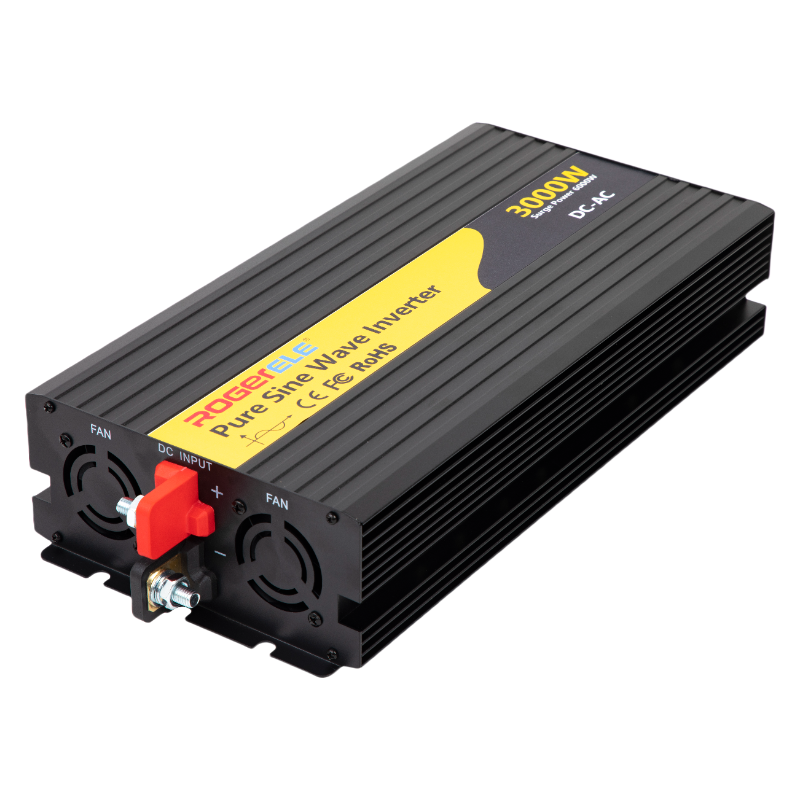
Connecting your power inverter to a car battery requires careful attention to detail to ensure it is done safely and correctly. First, identify the positive and negative terminals of the car battery. Typically, the positive terminal is marked with a red cover or a "+" sign, while the negative terminal is marked with a black cover or a "-". Always disconnect the car battery before making any connections to prevent sparks that could cause injury or damage. Connect the positive cable to the positive terminal and the negative cable to the negative terminal. Securely tighten the connections to prevent power loss and ensure stable operation during the inverter's use.
Securing the inverter properly is crucial for both its stability and effectiveness. When selecting a mounting location, consider spots that are stable and easily accessible but away from direct heat sources to prevent overheating. Ensure there is enough space around the inverter for adequate airflow, which is necessary for heat dissipation. This can increase the inverter's lifespan and efficiency. Use sturdy brackets or straps to firmly hold the inverter in place during vehicle operation. This setup assists in minimizing vibrations and potential movements that could disrupt its functioning.
Grounding the inverter is a fundamental step to improve electrical safety and protect connected devices. The grounding process involves attaching the inverter to the vehicle’s metal frame or a dedicated grounding point. This step helps prevent electrical shocks and other potential hazards. Begin by finding the approved grounding point on the inverter or vehicle, then securely connect the grounding wire. It’s essential to adhere to local electrical codes while setting this up. Once grounded, thoroughly test the connection to certify safety and functionality before proceeding with use.
Using a multimeter to test the inverter’s voltage output ensures that it meets the required specifications. Start by setting the multimeter to the appropriate voltage range, typically higher than the expected output. Connect the multimeter probes to the inverter’s output terminals and observe the reading. This step helps verify stable electricity flow and highlights any voltage fluctuations that might indicate underlying issues. Regular maintenance of the multimeter, such as ensuring its accuracy and reliability, is vital for ongoing and effective testing.
Reverse polarity in electrical systems refers to incorrect connections where the positive and negative wires are swapped, potentially causing malfunction in power inverters. It's essential to address these issues promptly to ensure the efficient operation of your system. To troubleshoot reverse polarity fuse issues, start by carefully inspecting all connections to ensure that each wire is linked correctly. If you discover any misplaced wires, rectify them immediately. Additionally, fuses might need replacing if damaged, so always keep spare fuses handy. It's crucial to double-check wiring against the installation guide before concluding the task, as this can prevent future problems and ensure the safe operation of your inverter system.
Inverter overload prevention features play a vital role in maintaining the system's longevity. These features monitor the current flow and prevent damage by disengaging the inverter when the load exceeds its capacity. Automatic shutdown features are an extension of these protections—they automatically switch off the inverter under unsafe operating conditions, such as overheating or excessive power draw. To detect signs of overload, watch for a sudden increase in the system's temperature or unusual sound indicating stress on the inverter. Regularly observing these signs can help avoid potential damage. Respond promptly by reducing the load or allowing the system to cool down to ensure the inverter’s optimal operation.
Maintaining solar-powered systems is critical to their long-term effectiveness and efficiency. Regular inspections and cleaning of solar panels are fundamental tasks, ensuring they remain free from debris and operate at maximum efficiency. Battery maintenance is equally crucial; for lead-acid batteries, checking water levels is a must, whereas lithium batteries require monitoring their lifecycle and replacement of aging units. Additionally, periodic professional servicing is advisable, helping to identify and address any underlying issues before they escalate. These practices guarantee the reliable performance of your solar-powered system, contributing to its longevity and reducing the risk of unexpected breakdowns.

Explore our range of power inverters, solar hybrid inverters, solar charge controllers, and solar panels. Our lithium batteries and solar PV systems ensure optimal energy efficiency and reliability.
No8-88 of Xingye North Road,Youli Industrial Zone,Liushi Town,Yueqing of Wenzhou City, Zhejiang Province
Copyright © 2024 Zhejiang Sunrise New Energy Co., Ltd. Privacy Policy
 Hot News